A good handwriting practice routine doesn't need to be long. For children ages 3 to 7, ten calm minutes a day is easier to keep up than one long session on the weekend. Here is a simple routine you can use at the kitchen table, plus a few ideas to keep it feeling like a treat instead of a chore.
Why short and daily works
Small hands tire quickly. Holding a pencil, pressing just hard enough and steering a line all take real effort for a young child. When practice runs long, letters get sloppy and the mood drops.
Ten minutes is short enough to stop while your child still wants more. That feeling is what brings them back tomorrow. A little practice every day also helps the movements start to feel natural.
Try to pick the same time each day, like after breakfast or before snack time. When the time stays the same, practice becomes part of the day and there is less to argue about.
Minutes 1 to 2: Warm up the hands
Start without a pencil. A quick warm-up gets fingers, wrists and shoulders ready to work.
A few ideas: squeeze and roll a ball of play dough. Crumple a sheet of scrap paper into a ball using one hand. Make big arm circles, then small wrist circles. Tap each fingertip to the thumb, one at a time.
Finish with air writing. Have your child use a pointer finger to draw the day's letter in the air, nice and big. Big movements are a gentle way to get to know a shape before trying the small, careful version on paper.
Minutes 3 to 7: One letter, done with care
Pick one letter for the day. One is plenty. Many families start with the letters in a child's name, or with straight-line letters like l, t and i before curvy ones like s.
Show the letter slowly first. Talk through each stroke in plain words: 'Start at the top. Go straight down. Now cross it. ' Where a letter starts and the order of its strokes matter. Getting them right early means fewer habits to unlearn later.
Then let your child try it a few ways. Trace it with a finger in a tray of salt. Write it big with chalk outside. Then write it three or four times on paper. Three careful letters do more good than a page of rushed ones.
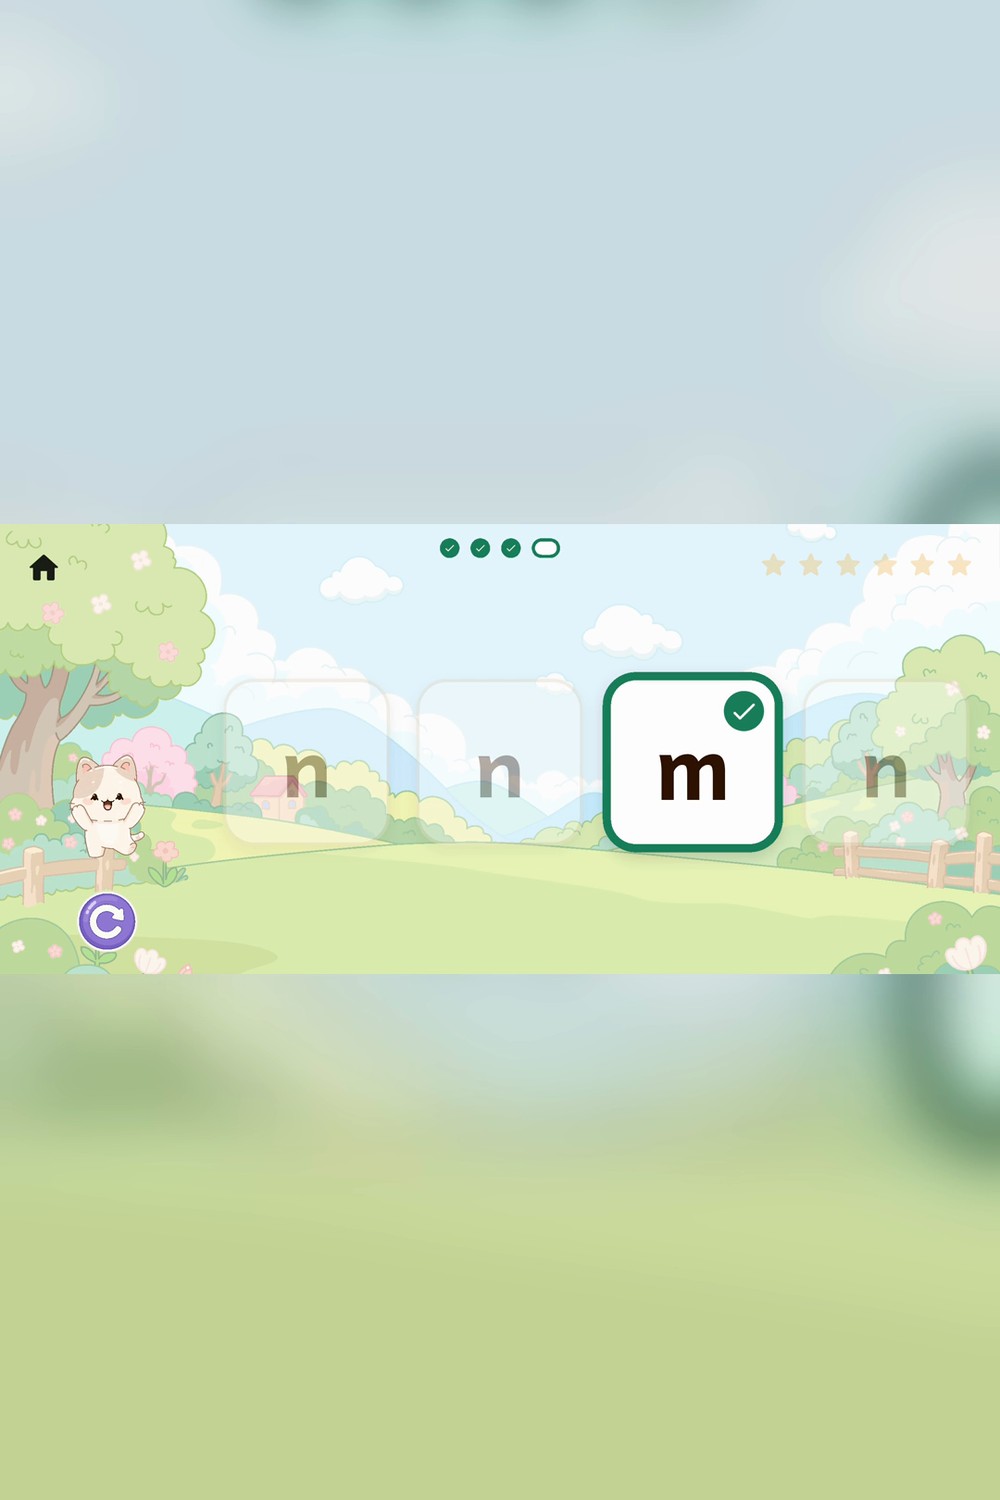
You can't see stroke order once a letter is finished, so watch while your child writes instead of only checking the result. If you'd like a helper for this step, Milo: Learn to Read & Write checks stroke order, not just the finished shape. It works completely offline, with no ads, no accounts and no tracking.
Minutes 8 to 9: Give the letter a job
Next, use the new letter for something real. Children care more about writing when it does something.
Your child could write the letter on a sticky note and hide it for you to find. They could label a drawing, add it to a name card or write it on a shopping list you really take to the store. Older children can write a short word with the letter, like 'top' or 'cat. '
This step turns practice into a way of sharing ideas. It shows that letters are tools, not just shapes on a worksheet.
Minute 10: Finish on a good note
End the session before your child gets tired. Ask them to look over their work and circle the letter they like most.
Then tell them exactly what you notice, like 'You started that one right at the top' or 'Your lines are so straight today. ' Specific praise names the skill, so it teaches more than 'good job. '
Keep the work somewhere they can see it, like the fridge or a folder they can flip through. Looking back over a few weeks of letters and seeing the change is its own reward.
Keeping it fresh week after week
The routine works because it stays the same each day, but small changes keep it interesting. Switch tools now and then: crayons, short pencils, chalk, whiteboard markers or a paintbrush dipped in water on a fence. Short, chunky tools are often easier for little hands to grip.
Change where you practice too. A clipboard on the floor, a window with washable markers or a tray on the couch can all feel new.
If your child writes with their left hand, a few small changes help. Tilt the paper so the top leans to the right. Sit on their left side when you show a letter, so they can follow your hand. Encourage them to keep the wrist below the writing line so they can see their work and avoid smudges.
On hard days, make the routine shorter. Five relaxed minutes are better than ten tense ones, and you can try again tomorrow.
Frequently asked questions
What age is right to start a handwriting practice routine?
Many children show interest around ages 3 or 4, often by scribbling and drawing shapes. At that age, focus on warm-ups, lines and circles more than full letters. Follow your child's lead and keep it light.
What should I do if my child gets frustrated?
Stop and make the task smaller. Go back to an easier letter, switch to finger tracing in salt or end with something they can already do well. Finishing on a success matters more than finishing the plan.
Should we practice uppercase or lowercase letters first?
Families do it both ways. Capital letters use mostly straight lines and are easy to tell apart. Lowercase letters show up most in books. If your child's school or homeschool plan uses a particular style, match it, because sticking to one approach matters more than which one you pick.
A handwriting routine doesn't have to be perfect to work. It just needs to be gentle and steady, and if you'd like a calm, offline helper for the letter step, Milo Learn has a left-handed mode and keeps everything on the device.
More from AstroForged